All Categories
Featured
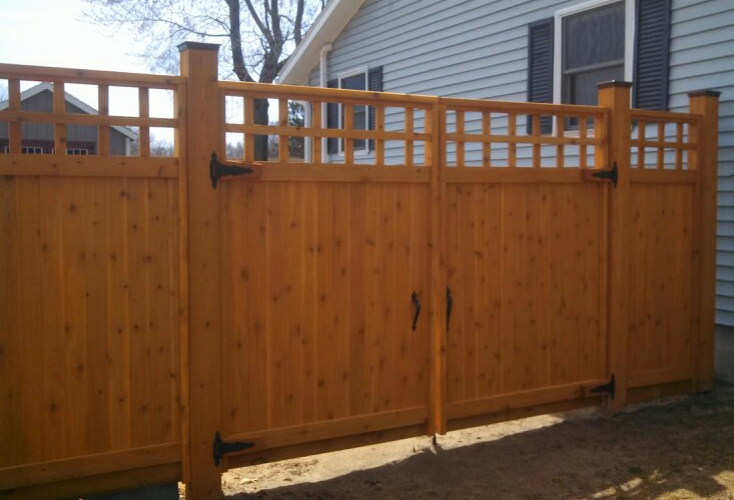
A leaning or damaged fencing blog post can endanger the security and look of your entire fence. Luckily, with the right devices and strategies, you can address this problem efficiently and restore your fencing's performance. Here's a step-by-step overview to aid you take care of a leaning or damaged fence message.
Before beginning any kind of repairs, evaluate the condition of the fencing blog post to figure out the reason for the issue. An article might lean because of:
Loosened dirt around the base
Rot or degeneration in wood messages
Damages from influence or weather
Determining the origin will assist you in choosing the appropriate repair service approach.
For a lot of repair services, you'll need the following:
![]()
Shovel or blog post opening digger
Level
Hammer or drill
Replacement message (if required)
Concrete mix or gravel
Nails or screws
Wood risks and string
Having these products available will certainly make the process smoother and more reliable.
If the article is still structurally audio however leaning, comply with these actions:
Loosen Up the Dirt: Dig around the base of the blog post to loosen up the dirt.
Straighten Out the Post: Use a level to ensure the message is upright. Enlist a helper to hold the article stable.
Reinforce the Base: Fill the hole with a mixture of crushed rock and concrete for added stability. Tamp down the gravel or concrete to get rid of air pockets and protect the blog post in location.
Allow it Establish: Permit the concrete to treat for at least 24-48 hours before applying any anxiety to the post.
If the post is rotten or seriously harmed, replacement might be essential:
![]()
Get Rid Of the Old Blog Post: Dig around the base and draw out the damaged message, including any kind of concrete ground.
Prepare the Opening: Clear out particles and make certain the opening is deep sufficient for the new article (normally one-third of the blog post's length)
Set Up the New Message: Place the new post in the opening, guaranteeing it is level and aligned with the remainder of the fencing. Use wood stakes and string to keep placement.
Protected with Concrete: Pour concrete right into the opening, ensuring it loads all gaps. Allow it heal prior to reattaching fencing panels or rails.
To avoid future troubles, take these preventative measures:
Use pressure-treated timber or rot-resistant products for blog posts.
Apply a protective sealer to wood articles to defend against wetness.
Make sure correct drain around posts to stop water merging.
Inspect your fence frequently for signs of wear and tear.
Last Thoughts
![]()
Fixing a leaning or damaged fencing article doesn't have to be a complicated task. By complying with these steps, you can recover your fencing's stability and extend its life-span. With regular maintenance and prompt repairs, your fencing will certainly remain to enhance your building's functionality and aesthetic allure for years to come.
- Assess the Damages
Before beginning any kind of repairs, evaluate the condition of the fencing blog post to figure out the reason for the issue. An article might lean because of:
Loosened dirt around the base
Rot or degeneration in wood messages
Damages from influence or weather
Determining the origin will assist you in choosing the appropriate repair service approach.
- Gather Necessary Equipment and Materials
For a lot of repair services, you'll need the following:
Shovel or blog post opening digger
Level
Hammer or drill
Replacement message (if required)
Concrete mix or gravel
Nails or screws
Wood risks and string
Having these products available will certainly make the process smoother and more reliable.
- Straighten a Leaning Post
If the article is still structurally audio however leaning, comply with these actions:
Loosen Up the Dirt: Dig around the base of the blog post to loosen up the dirt.
Straighten Out the Post: Use a level to ensure the message is upright. Enlist a helper to hold the article stable.
Reinforce the Base: Fill the hole with a mixture of crushed rock and concrete for added stability. Tamp down the gravel or concrete to get rid of air pockets and protect the blog post in location.
Allow it Establish: Permit the concrete to treat for at least 24-48 hours before applying any anxiety to the post.
- Change a Damaged Post
If the post is rotten or seriously harmed, replacement might be essential:

Get Rid Of the Old Blog Post: Dig around the base and draw out the damaged message, including any kind of concrete ground.
Prepare the Opening: Clear out particles and make certain the opening is deep sufficient for the new article (normally one-third of the blog post's length)
Set Up the New Message: Place the new post in the opening, guaranteeing it is level and aligned with the remainder of the fencing. Use wood stakes and string to keep placement.
Protected with Concrete: Pour concrete right into the opening, ensuring it loads all gaps. Allow it heal prior to reattaching fencing panels or rails.
- Prevent Future Issues
To avoid future troubles, take these preventative measures:
Use pressure-treated timber or rot-resistant products for blog posts.
Apply a protective sealer to wood articles to defend against wetness.
Make sure correct drain around posts to stop water merging.
Inspect your fence frequently for signs of wear and tear.
Last Thoughts

Fixing a leaning or damaged fencing article doesn't have to be a complicated task. By complying with these steps, you can recover your fencing's stability and extend its life-span. With regular maintenance and prompt repairs, your fencing will certainly remain to enhance your building's functionality and aesthetic allure for years to come.
Latest Posts
How Consistent Vehicle Maintenance at Montclare Auto Repair Reduces Costs
Published May 31, 25
1 min read
Uncover Montclare Auto Repair’s Most Popular Services and Why Drivers Trust Them
Published May 26, 25
1 min read
Discover Why Chicago Drivers Prefer Montclare Auto Repair for Trusted Service and Great Savings
Published May 25, 25
1 min read
More
Latest Posts
How Consistent Vehicle Maintenance at Montclare Auto Repair Reduces Costs
Published May 31, 25
1 min read
Uncover Montclare Auto Repair’s Most Popular Services and Why Drivers Trust Them
Published May 26, 25
1 min read
Discover Why Chicago Drivers Prefer Montclare Auto Repair for Trusted Service and Great Savings
Published May 25, 25
1 min read